
While buying a field hockey stick, a buyer will find them either gripped or not gripped. Gripping a field hockey stick simply means adding a comfortable tape on top of the shaft. The main reason for gripping a field hockey stick is to enable the player to get a much better hold of his or her hockey stick.
During the stick handling, there is a continuous process of moving your forehand up and down, up and down the shaft. This process becomes easier with a gripped hockey stick as it helps the forehand to have a tighter grip on the stick.
In this article, I will take you through a process of how you can do your own gripping or re-gripping to your hockey stick. It involves rolling on the grip to the stick on a consistent pattern. It is simple and you can do it.
Gripping a field hockey stick
In most cases, hockey sticks come with a basic grip which tends to keep on sliding when it gets wet. In order to avoid this, as a player, you need to add another waterproof grip so that you can gain a sticky grip. All you need is to buy a hockey stick grip of your choice from the different brands. The normal hockey tape is also required to enable seal at the beginning of the grip and the end. You can get the two in different hockey stores.
Depending on the thickness you need for your hockey stick you can decide to pull off the basic grip that comes with the hockey stick or let it remain. Personally, I prefer putting the grip on top of the basic hockey stick as it gives me the perfect thickness I prefer for my hockey stick.
The Gripping process step by step
- To start with a cut one centimeter of the hockey tape and stick it at the end of the grip. The use of the tape is to stick the grip on the stick to ensure that as you roll down your grip, it does not flip off.
- Start rolling your grip from the top of your stick to bottom.
- As you start to role make sure your first round comes back to where the grip started and should be of the same height.
- Immediately after the overlap, now you can slightly go down diagonally. All this time make sure you are pulling your grip tightly to make sure it is airtight which in this case is to prevent any bubble on the grip. This can also be achieved by making sure that your thumb is pressing the grip on the stick always.
- Make your overlaps consistent and of the same size. The overlap can be just a few millimeters to ensure the equal thickness of your stick.
- Proceed with the same process down to the bottom of where the basic grip ends. Ensure you have covered the basic grip completely.
- When you get to the end, you can then cut off the excess grip using a pair of scissors. Then at the end of the cut grip place a piece of the hockey tape and pull it tightly to seal the end. And now you have your gripped hockey stick ready for play. Here is a gripping tutorial you may like to watch.
Re-gripping a Hockey Stick
Re-gripping is just repeating the gripping process of a hockey stick on a hockey stick whose grip is worn out or damaged. The initial step is to ensure you have a new grip from a brand of your choice and also a normal hockey tape. Before you start to grip the stick, make sure you remove the worn-out grip from the stick. It can be sticky sometimes but you don’t have to stress about the stickiness. You can remove the stickiness by using a nail polish remover. Alternatively, you can grip the stick with the stickiness because most likely you will put on another adhesive hockey grip to cover it anyway.
The Regripping process
- Start by removing the old or the damaged grip from the stick
- Then start at the top of your stick. Place the grip and secure its end with hockey tape. In this case, some grips come with their end cut at an angle (diagonal cut). If yours is not you can as well cut a part of it diagonally using a pair of scissors
- Make the first overlap a complete circle from where you had started.
- After the first overlap, diagonally bend your grip slightly then start overlapping. It is upon you to ensure that the grip overlaps correctly
- Keep pulling the grip tightly and pressing it with your thumb to ensure it is consistent and tight. No bubbles. This will help in keeping it from slipping
- Continue with the process to the end of the original grip. Again, you can decide how you want it to end. Cut the end diagonally and finish. Secure ends, top, and bottom with hockey tape. This will ensure that the grip remains in position and will not slip. Your stick is now ready for play. Here is a youtube video that can help you get the process much better watch
Examples of the best Grips that can be used in gripping a field hockey stick includes;
- Grays Chamois overgrip which is mostly suitable for wet weather.You can grab or view the current price of Grays Chamois overgrip on Amazon.

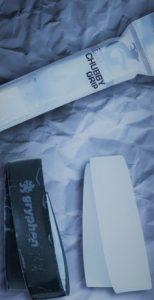
Grays Chamois overgrip - Gryphon Chubby grip which helps in enhancing extra thickness of the hockey stick. See the price on Amazon
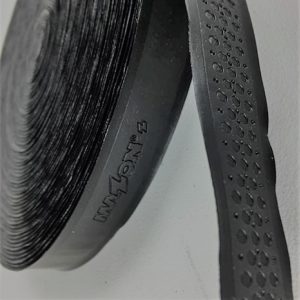
Gryphon Chubby grip - Mazon Cushion grip which gives maximum grip to the stick. See the price on Amazon.
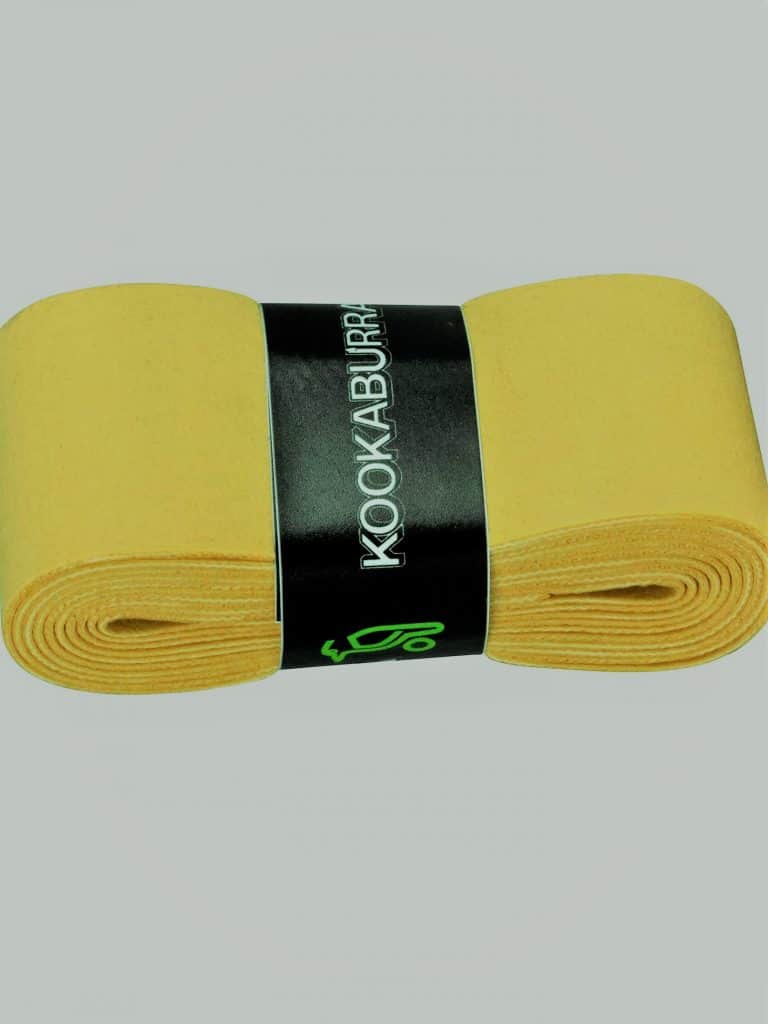
Mazon Cushion grip - Kookaburra Pro cushion hockey grip which helps best in shock absorption. See the price on Amazon.
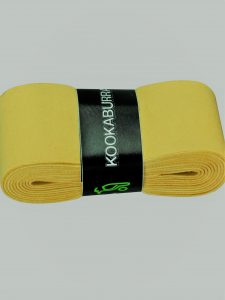
Kookaburra Pro cushion hockey grip


Very nice post. I just stumbled upon your blog and wanted to mention that I’ve really loved
surfing around your weblog posts. After all I will be subscribing to your rss feed and I hope you write again soon!
Fantastic blog. Really looking forward to reading more. Keep writing. Krissy Bevan Odette
Everything is very open with a very clear description of the issues. It was really informative. Your website is very helpful. Thanks for sharing! Conni Thomas Asquith
I am in fact thankful to the owner of this web site who has shared this great paragraph at at this place. Odille Nowell Hinckley Emelia Frederik Ishmul